The income trading journals are designed so that each trade is recorded in two different journals. One journal is utilized for trade initiations and exits and the other journal is a daily journal that records your day to day actions or non-actions for that trade. It is imperative that corresponding trade IDs are used in each journal entry so they will always be associated as one trade.
For example, if you are initiating a trade, you would fill out the appropriate information in the trade initiation/exit journal (ie. M3 template) and then fill out a daily trade journal entry. Then each day the trade is open you will complete a daily trade journal entry including the day the trade was initiated and exited. The trade initiation/exit journal will only have entries on the day the trade is initiated and the day the trade was exited.
Want to watch videos for more help? Click here!
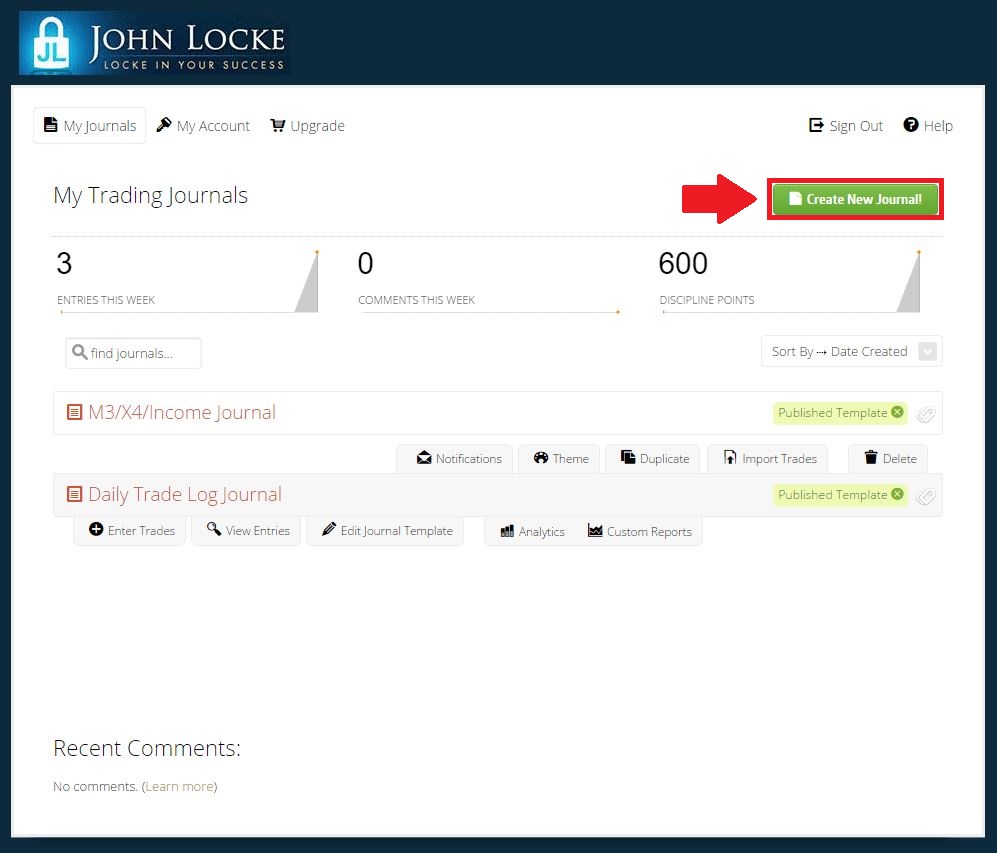
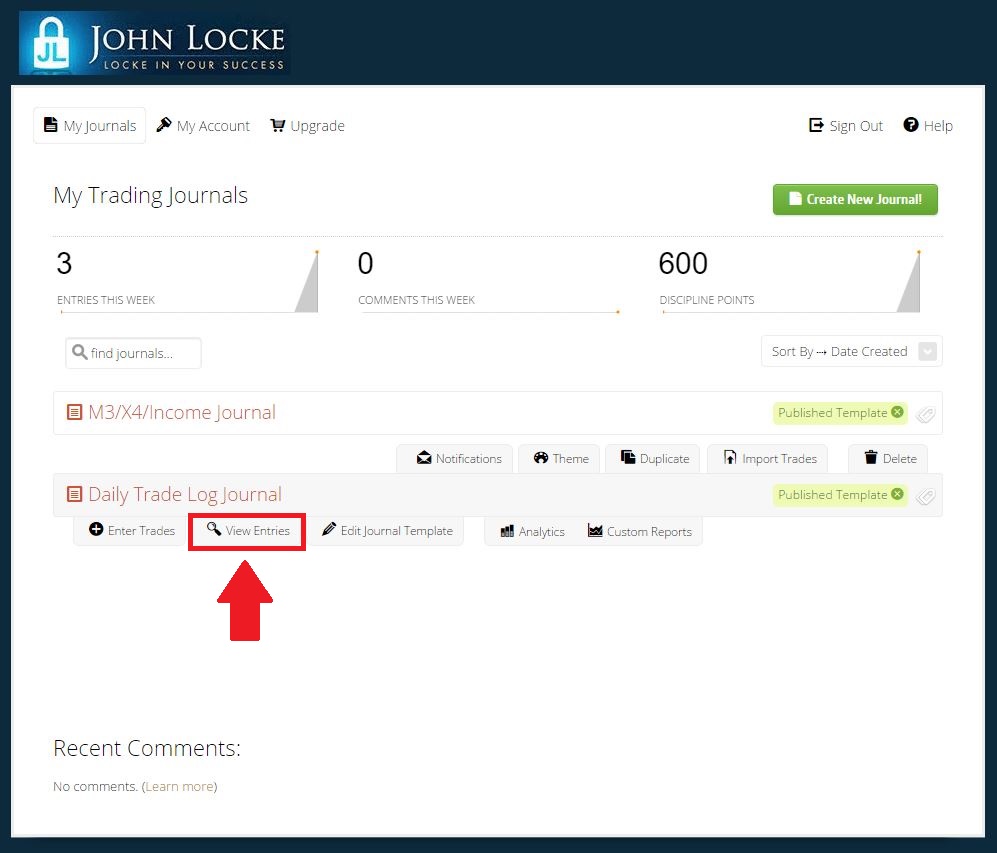
After login, you will see this…
Create New Journal
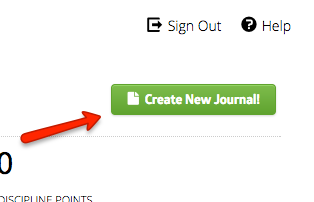
- To create a new journal click the ‘Create New Journal” button at the top right.
How many journals should you have? Click here to find out the details from Cindy!
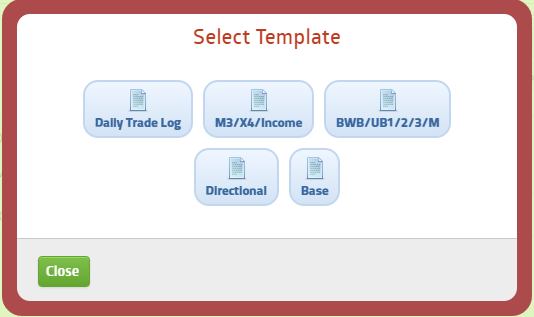
- Select a template from the available list.
Cindy says: The Base template contains all of the required fields for the Analytics page. Use this template if you wish to create your own journal from scratch but still want to be able to use the Analytics.
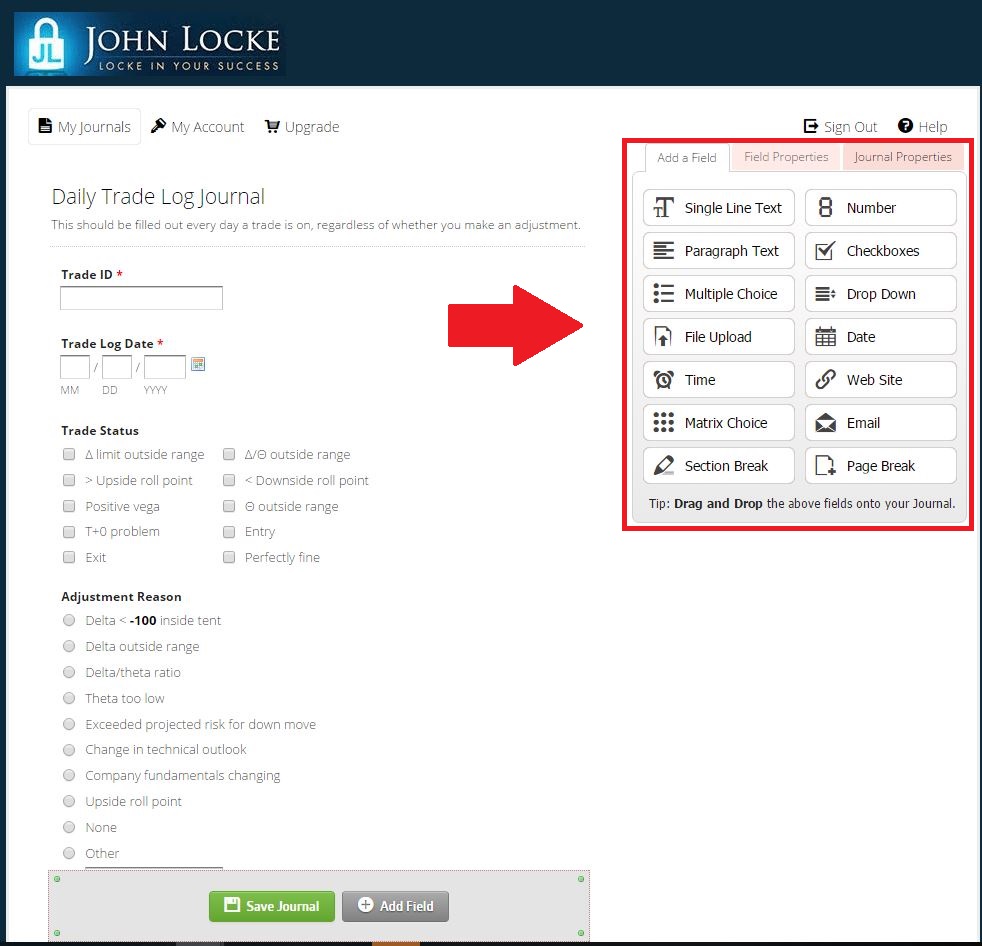
- You are in journal editing mode and the journal editing screen will appear.
- Use the journal editing tools on the right side to make changes to your copy of the template. Notice the three tabs which can be used: Add a Field (see above), Field Properties, and Journal Properties. The Add a Field individual items can be dragged to the left to add to the journal and then customized in the edit box which will appear.
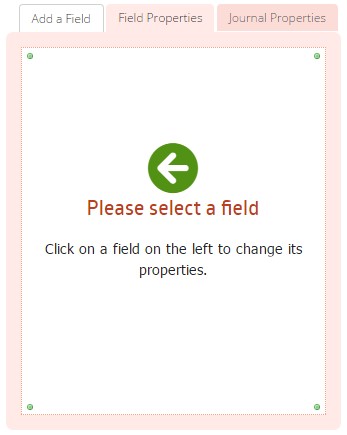
- Field Properties (shown below) – select a field in the journal to the left and changes can be made to the selected field.
Cindy says: Different field types will have different properties.
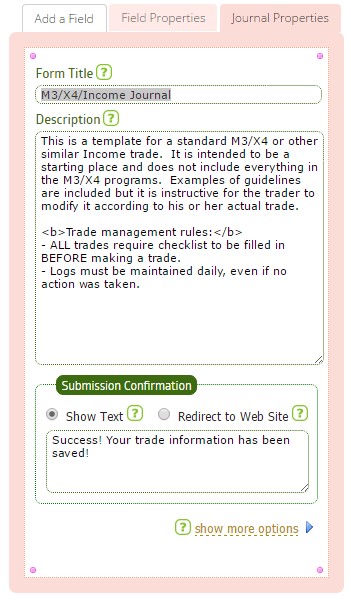
- Journal Properties (shown below) allow you to change the title and the description of your copy of the template
Cindy says: You can even change the message you get after you save your entry; put in a favorite affirmation or even redirect to your favorite webpage (cartoons, anyone?) after you’ve done your work.
- At the bottom of the journal you will find the following quick menu to “Save Journal”, “Add Field”, “Duplicate” (a field) or “Delete” (a field). Use these buttons to customize your journal.
- Once you are done customizing your journal be sure to “Save Journal” and exit.
Cindy says: If you delete a field that you’ve already used in a trade, the data you’ve entered in those trades will be deleted.
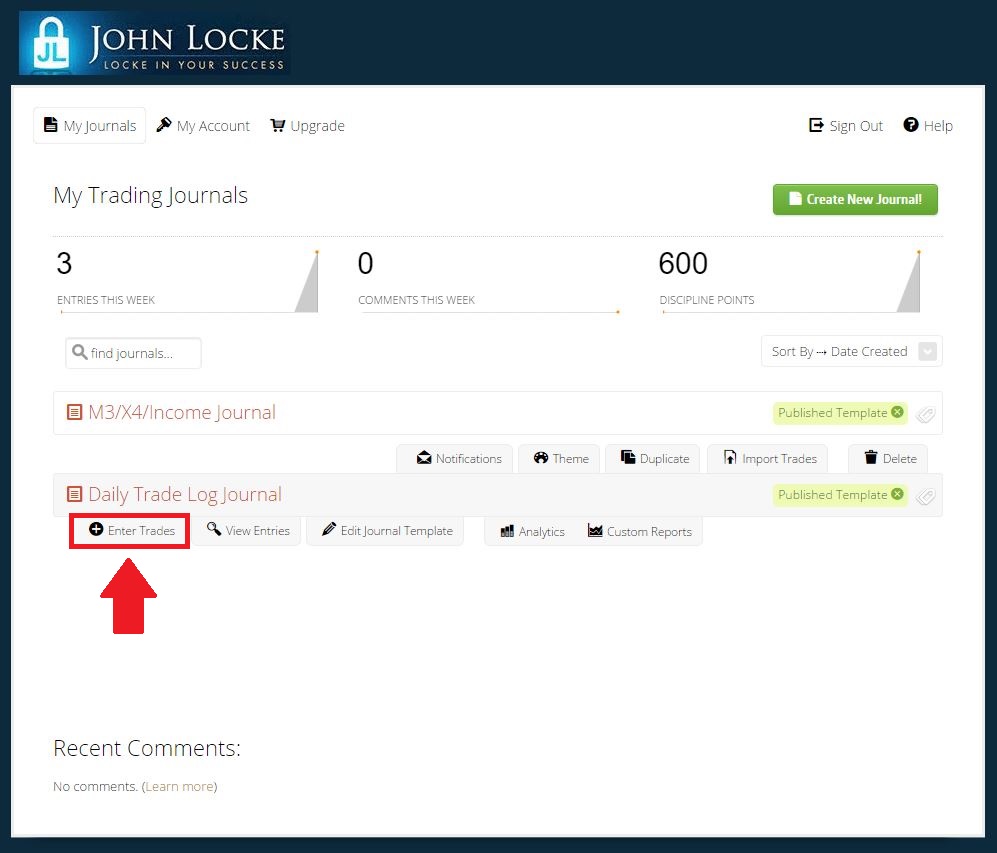
Enter Trades
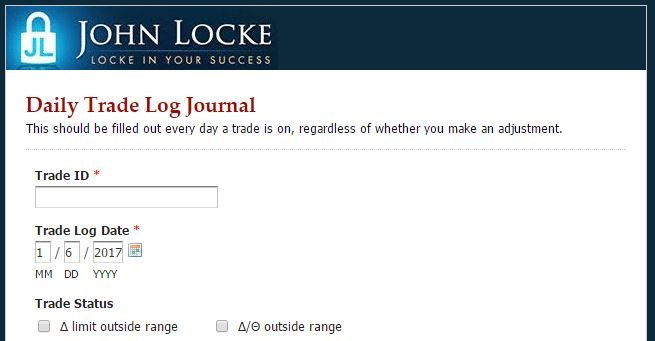
- Enter your trade journal details:
Why do I need a trade name? Click here to find out the details from Cindy!
- To upload either files, images, or videos. Click the appropriate buttons in the journal:
NOTE: To use the video journaling capability you will want to install Jing at:https://www.techsmith.com/jing.html
- When the entry is completed be sure to click “Save” at the bottom left of the journal entry screen:
Cindy says: Make sure your Daily Trade Log has a consistent way of identifying the trade (Trade ID, Trade Name) otherwise you won’t know what trade it’s referencing. It’s also nice to use a format that you can sort (2017_01, 2017_02 sorts better than Jan 17, Feb 17 for instance).
View Journal Entries
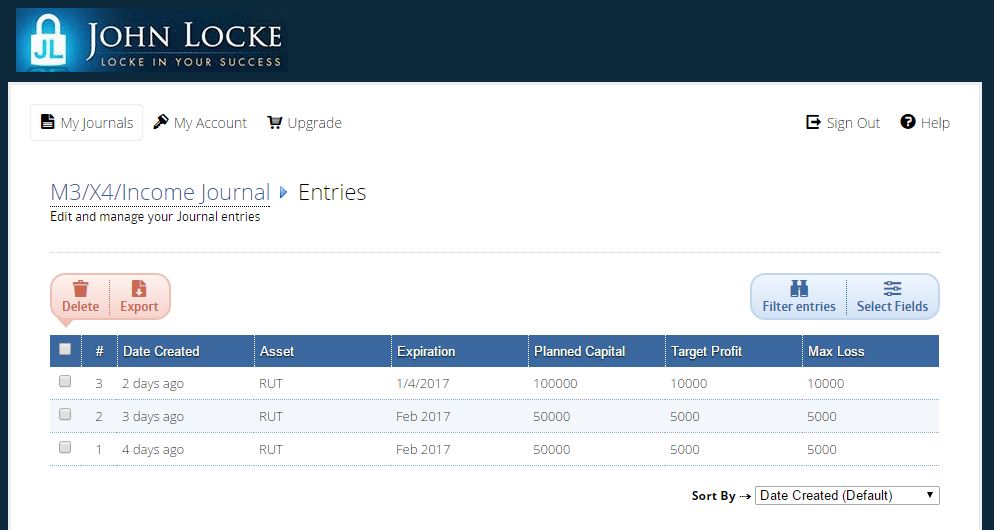
View Entries Table
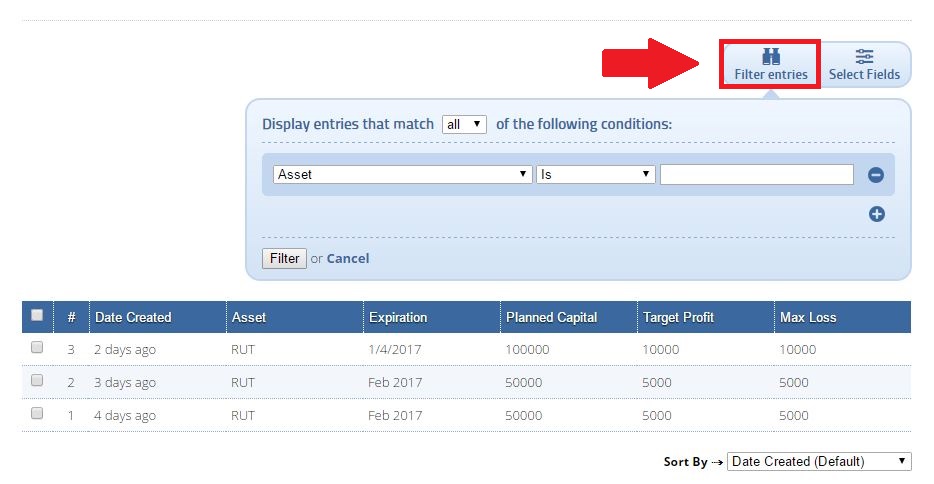
Filter the entries if you wish:
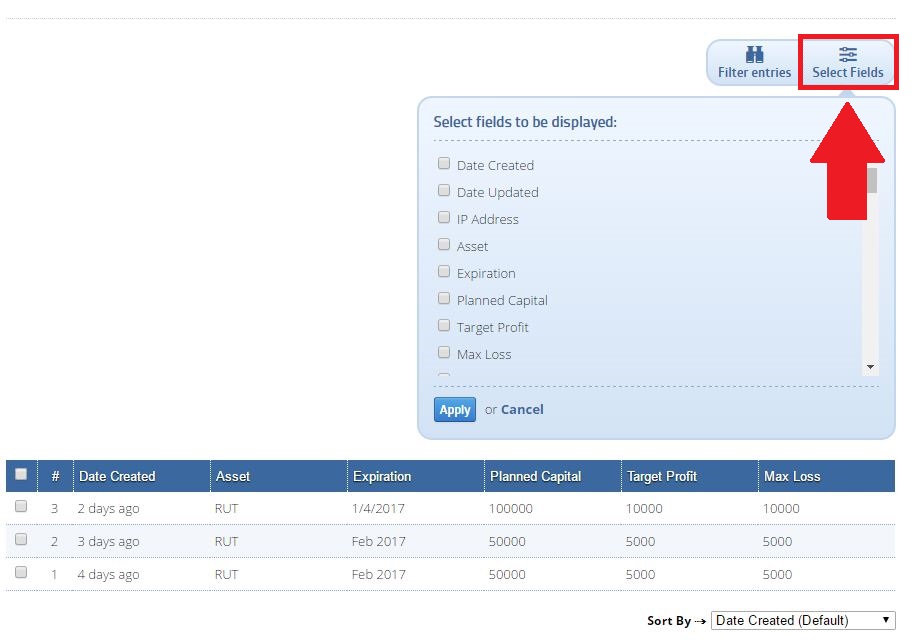
- ‘Select Fields’ section, which shows which columns to view in the table.
- View Entries table – a user can click on any entry to view each trade entry. Click in the box next to a trade entry and you can also “Delete” and/or “Export” your entry.
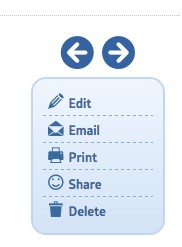
- When you click on an individual trade, you have the box on the right side that provides many options that you can do with that trade entry.
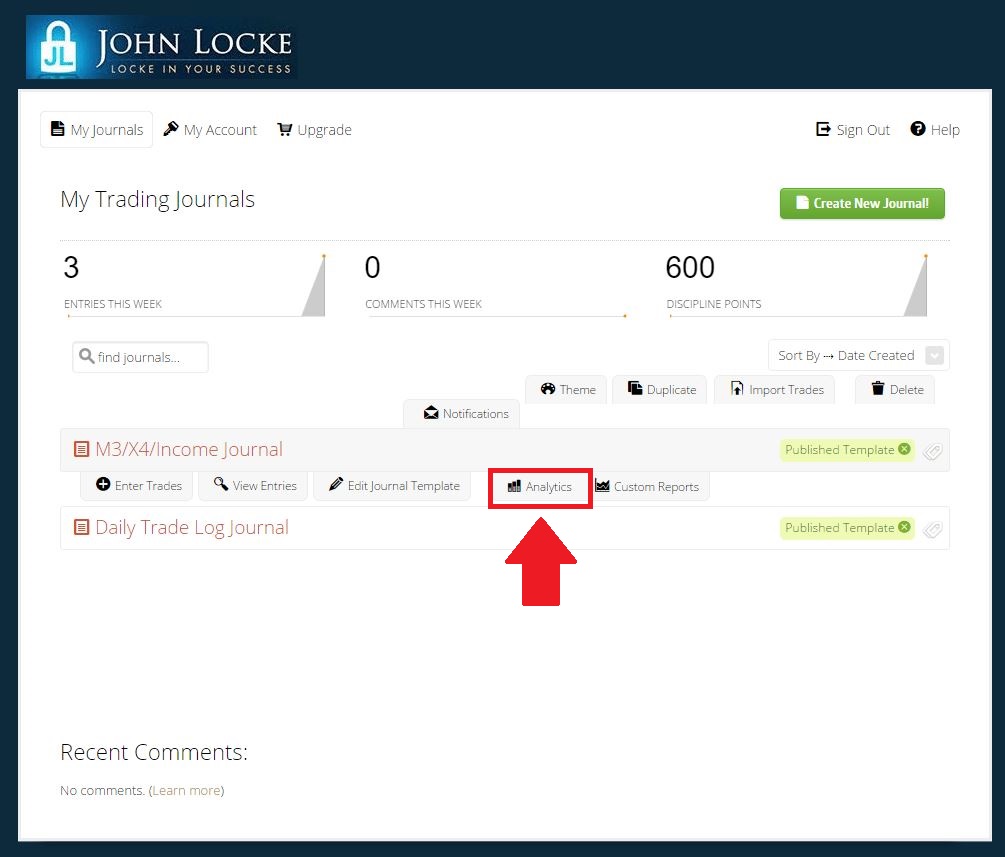
Analytics
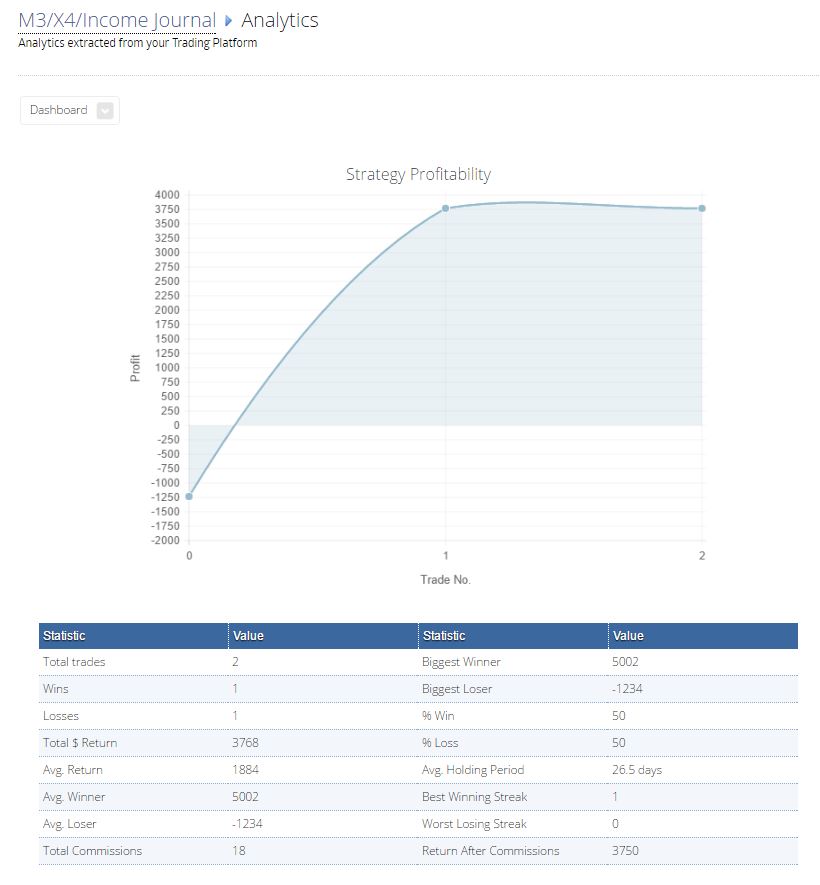
- It will display the core report from the Journal.
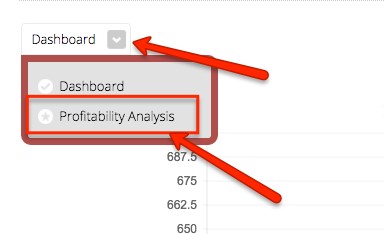
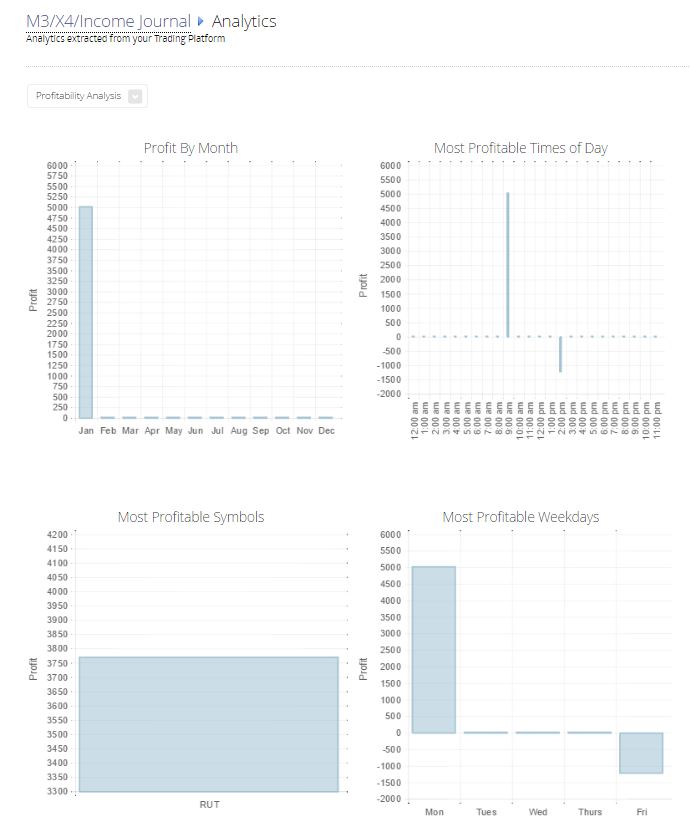
- Additional reports (Profitability analysis) are available from the ‘Dashboard’ link at the top left.
Displays report:
- Return to main menu
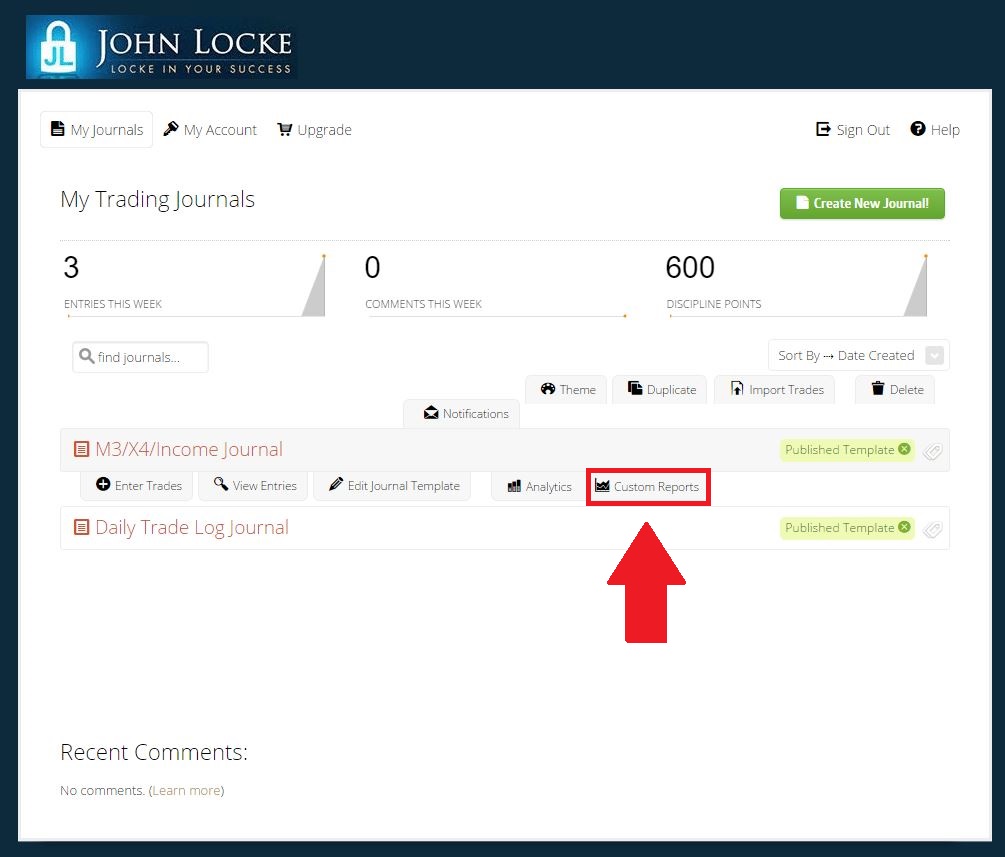
Custom reports
- Open the ‘Custom Reports’ section
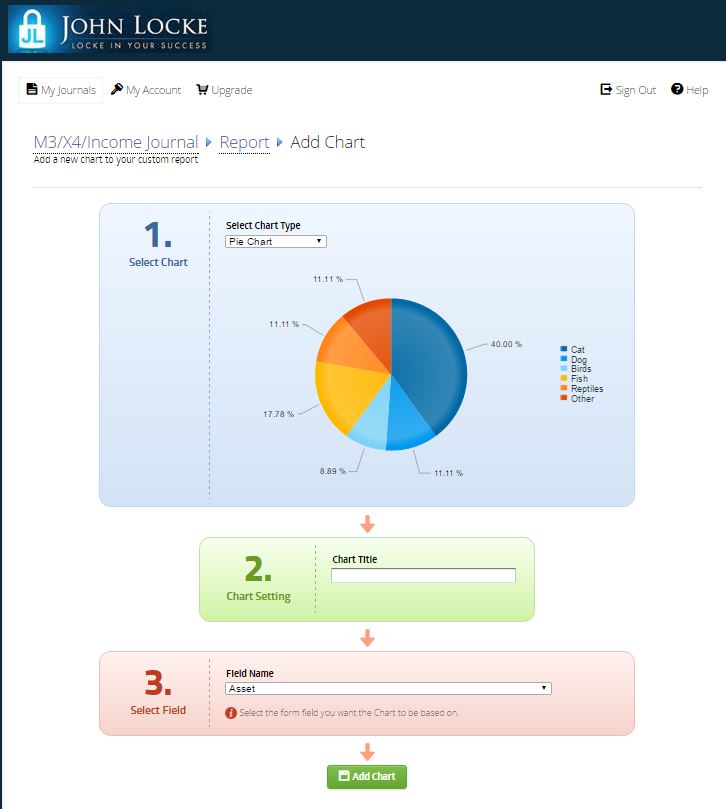
- Create a chart by clicking on the ‘Add new Charts’ button at the top right.
- There are various charts available to select from.
- Name for the chart and select a field to create the chart. When done, save the chart.
- You can edit the report at the bottom of the chart when it is displayed.
- A filter can also be added to the chart and the various chart options. Then Save the chart.
- Return the Custom Reports screen to see the change.
Please send any questions or comments to sherri@lockeinyoursuccess.com.

